Alli User Guide - Onboarding for Beginners
Check out this basic tutorial before you start using Alli. #first #signup #signin


This user guide is for beginners to start using Alli. For more user guides, please follow this link to find the Alli User Guide List.
Sign up / Sign in
- Sign into your Alli account. If you don’t have an account, create your account here.
- Once you are signed in, you will arrive at the Skills dashboard page. If it was your first sign-in, you'll go through a basic tutorial before that.
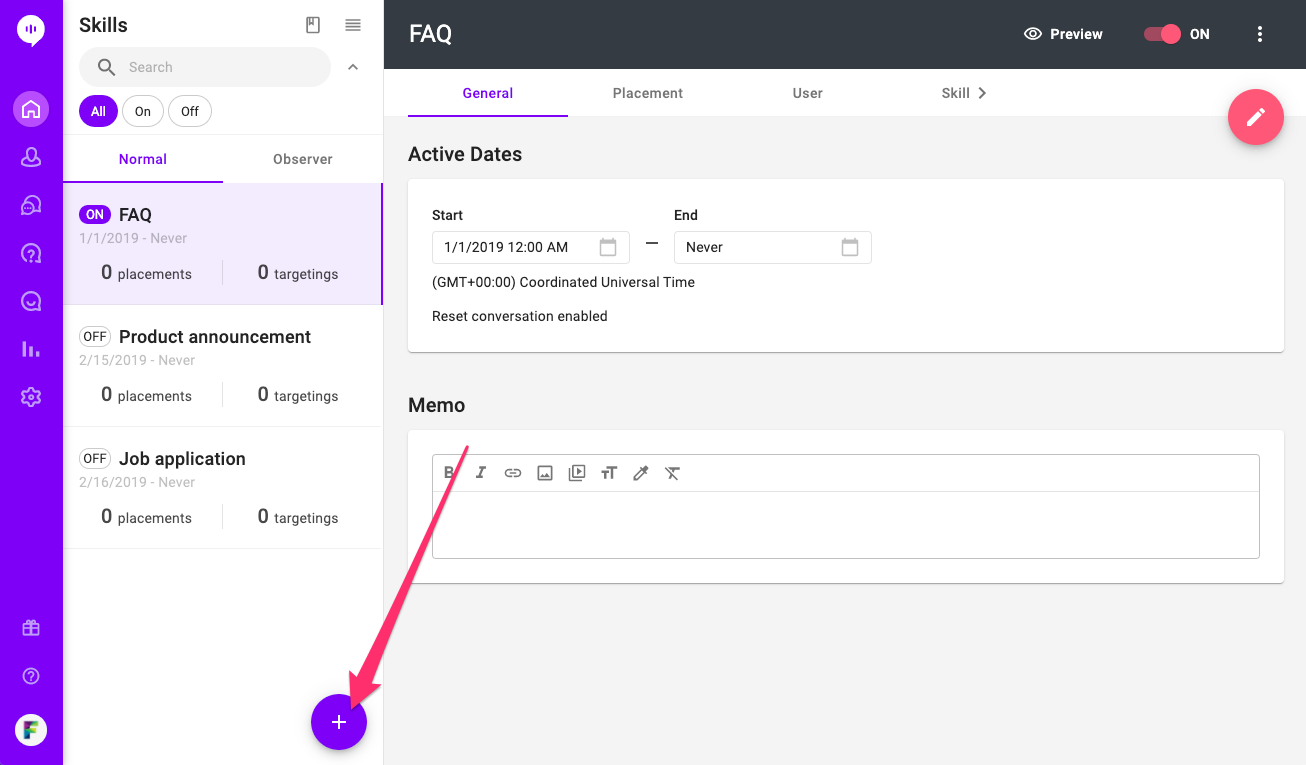
Create a Skill
Skill holds three key components that run your chatbots: Skill flow, placement targeting, and user targeting. Placement and user targeting are optional and you can leave them blank, but Skill flow is what you need to set up at the minimum to run your chatbot. When you create a Skill, you automatically create a blank Skill flow.
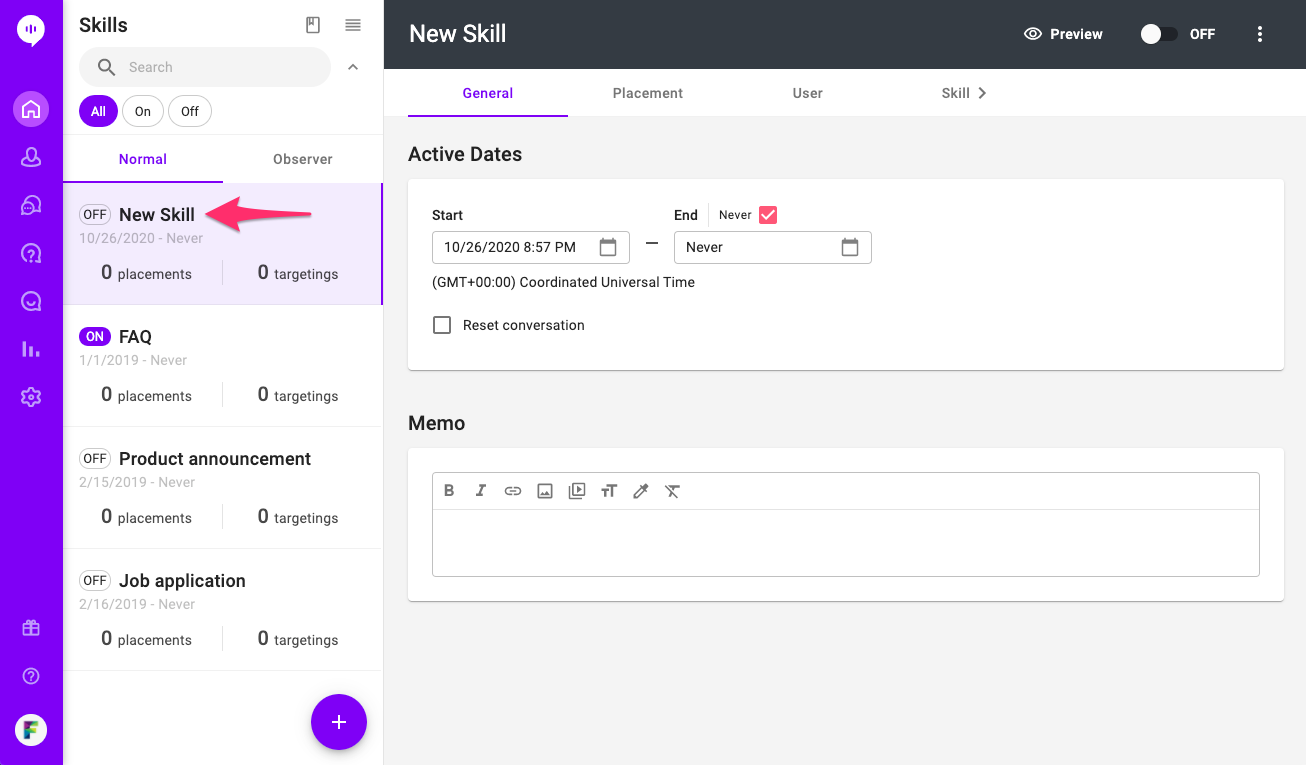
- To create a skill, Start by clicking on the ’+’ button to create a new skill. For some project you may see template popup. Select ‘Blank’ in that case.
- The new skill you created should show up on the list in the left panel with the name ‘New skill …’ and already open on the right side. You can rename the skill by clicking on the name field at the top.
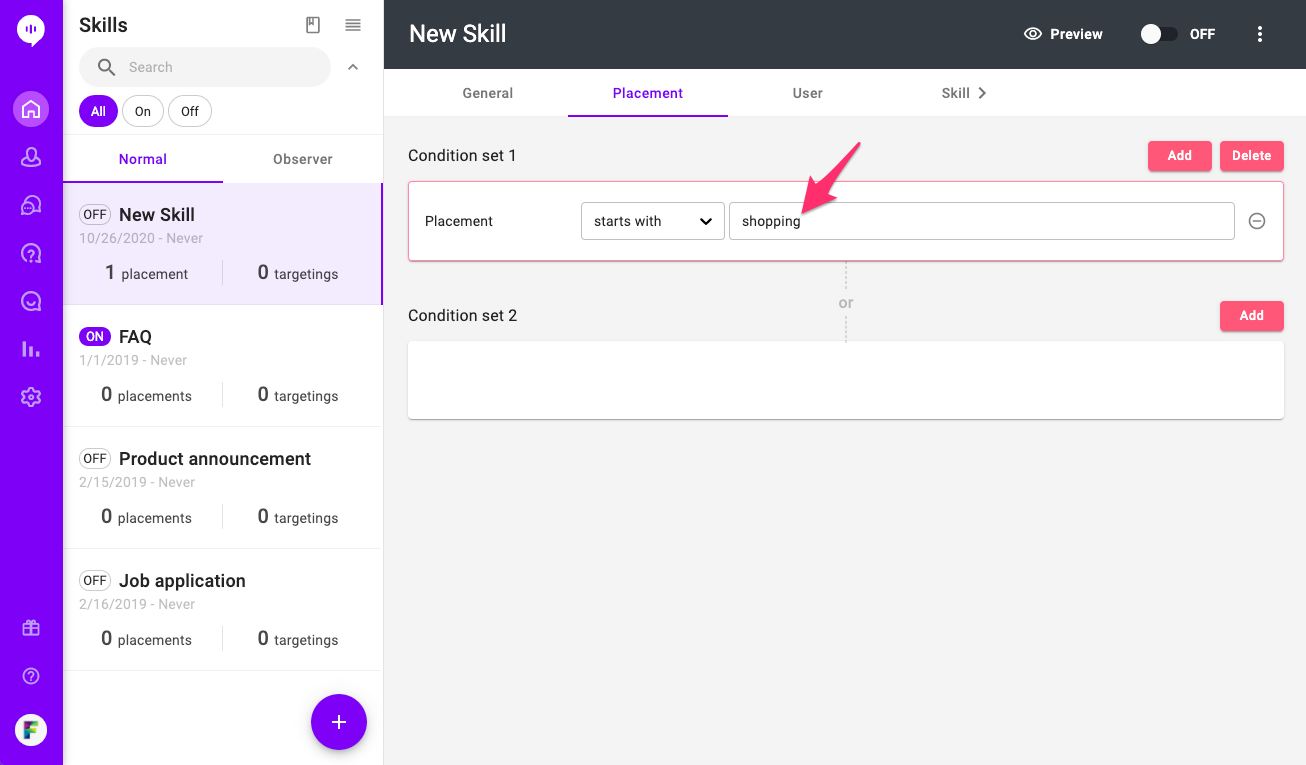
- You can click ‘Add’ to specify the placement to trigger the skill to show the skill flow. skill is a place on your website or app, such as LANDING for the landing page. If no placement is specified, the skill will run on all pages on your website.
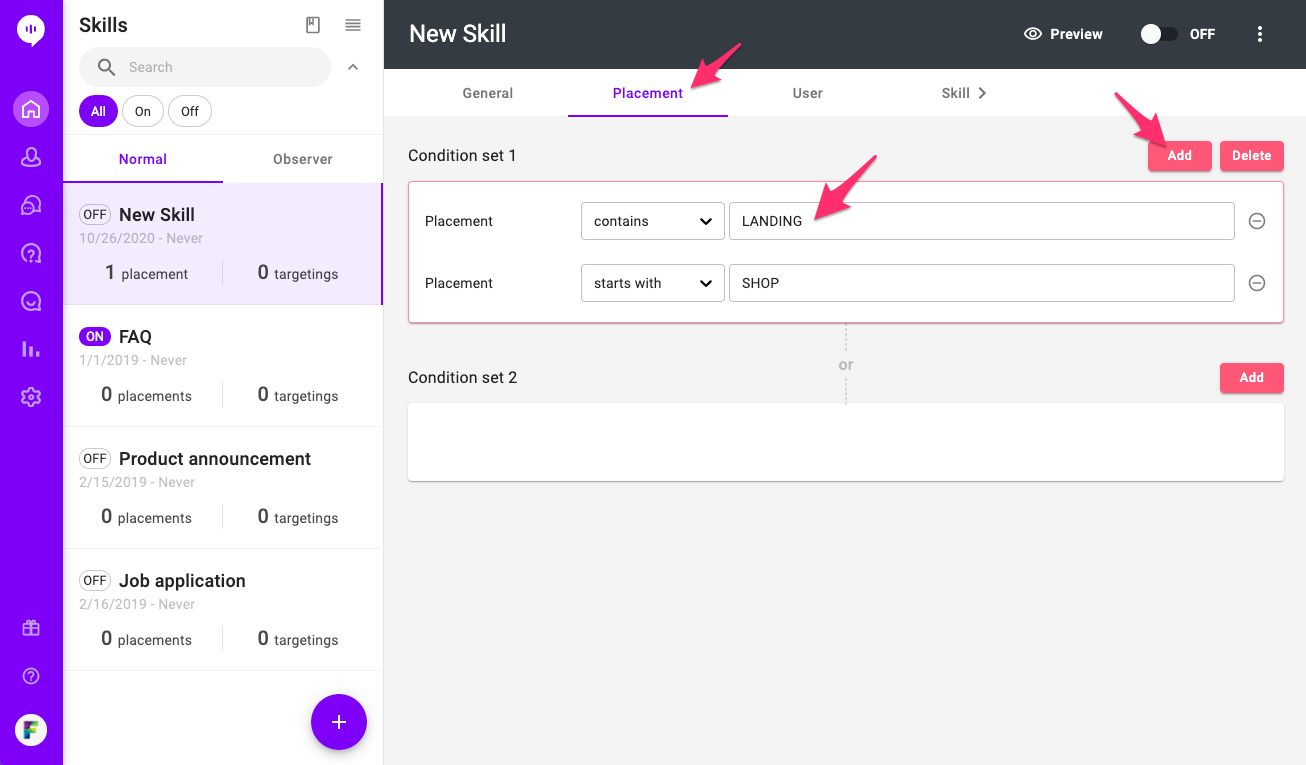
- You can specify the placement name in your website or app when you call our SDK; or call placements dynamically by setting the conditions in the skill. For example, you want to show chatbot on all the pages you have prefixed “shopping” in their placement name:
- You can specify the users to target, such as their profile, behaviors or other custom user variables you. For example, you can target users who have spent over $10,000. However, this is an optional setting so let’s skip user targeting for now until we have more user data in the account.

- The most important part is creating the skill flow. Click the Skill tab.
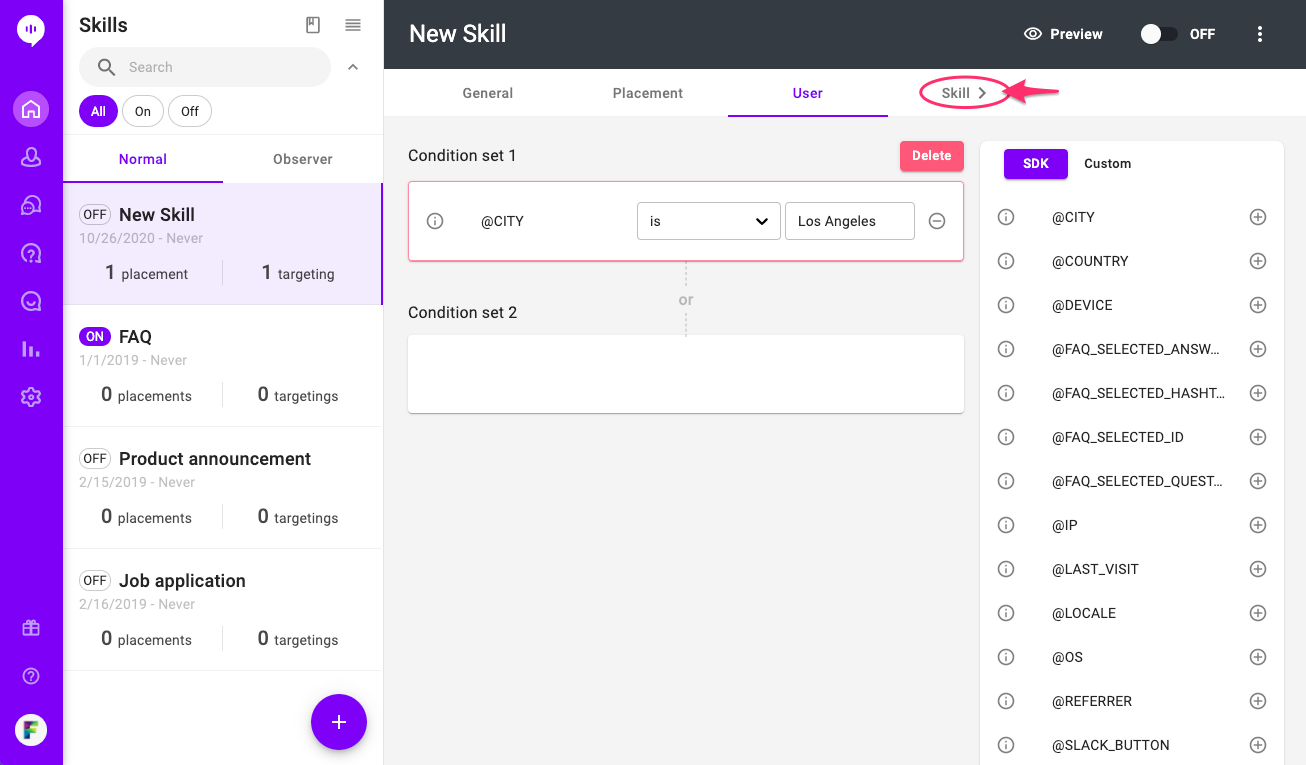
- You will be taken to the skill editor.
- Start creating your skill!
Skill Flow
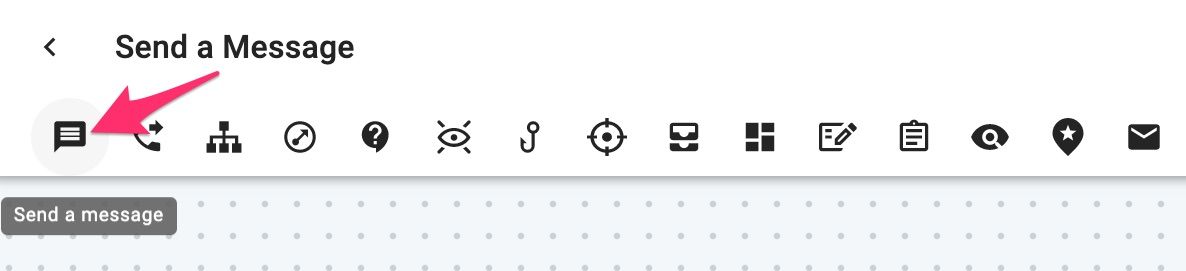
- Every chatbot starts with a message. Create a message node by clicking on the Message icon in the menu bar at the bottom.
- A Message node will show up. Click the edit icon to enter a message like “How can I help you?” Click Apply when you are done. Drag to connect your message node to the Start node. You have your first skill flow!
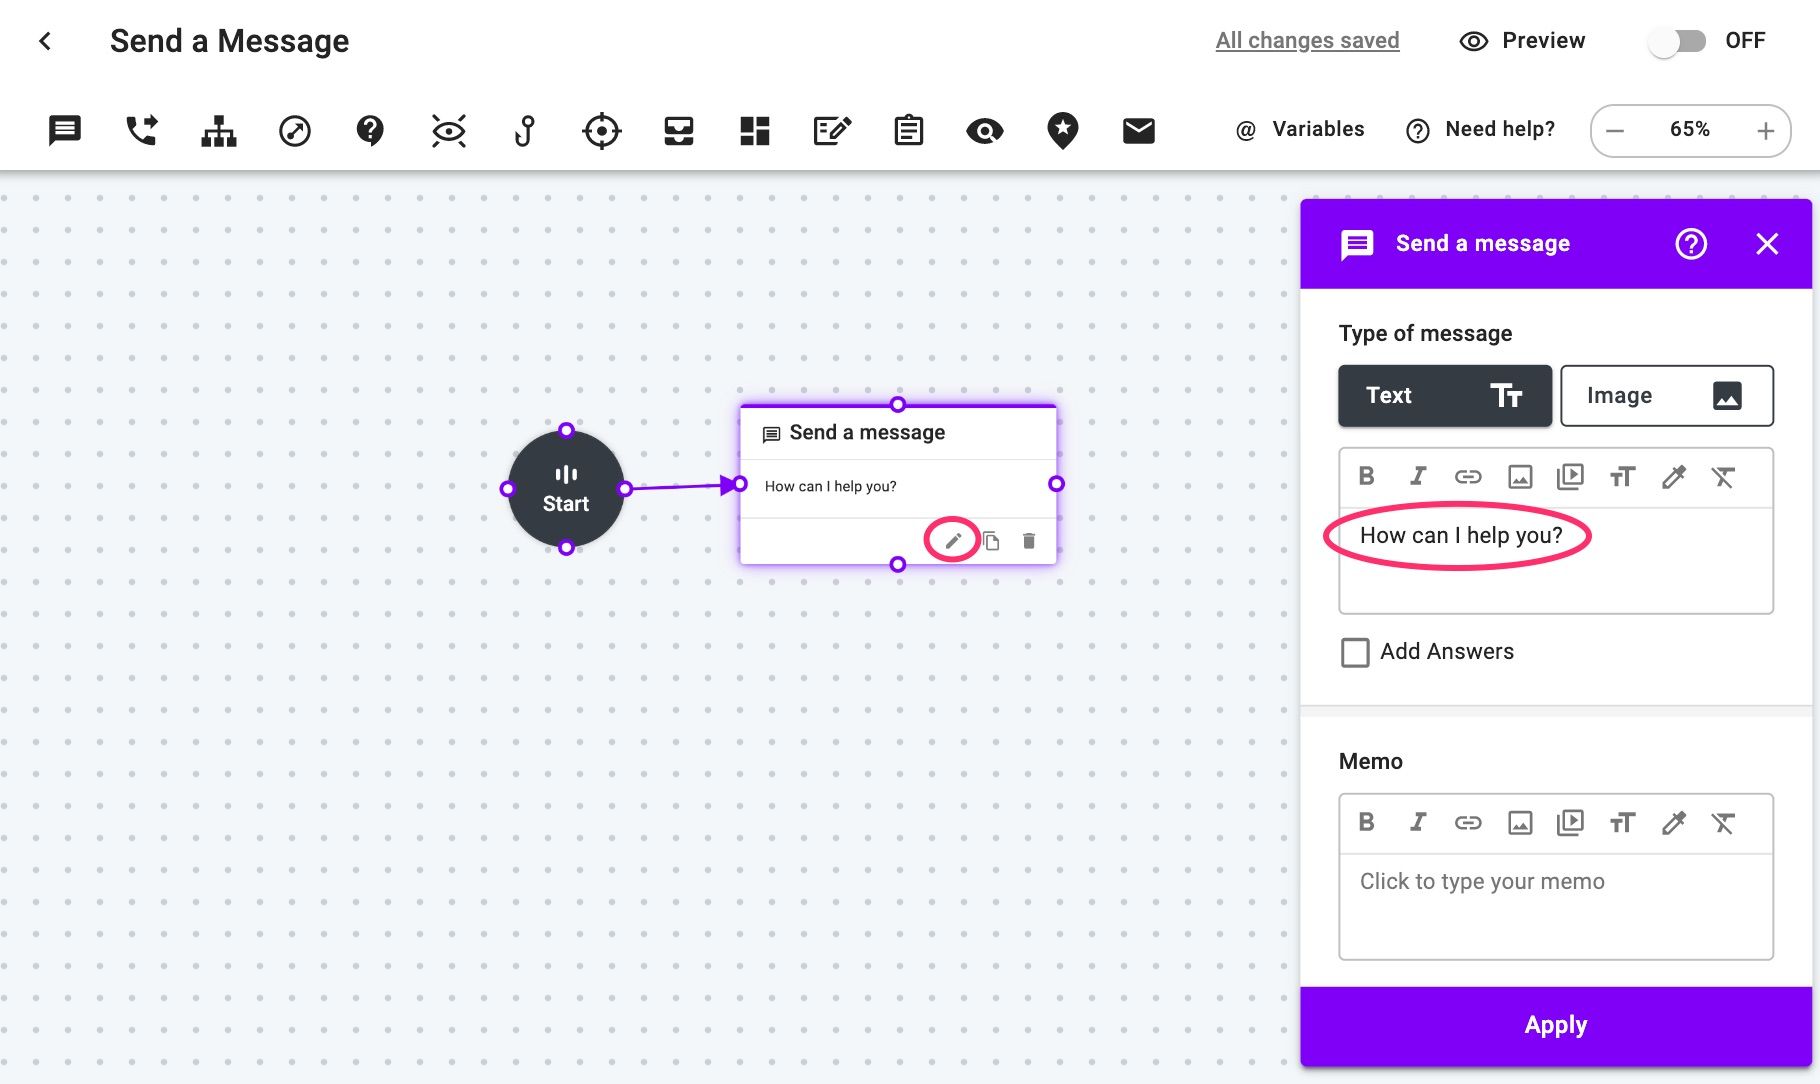
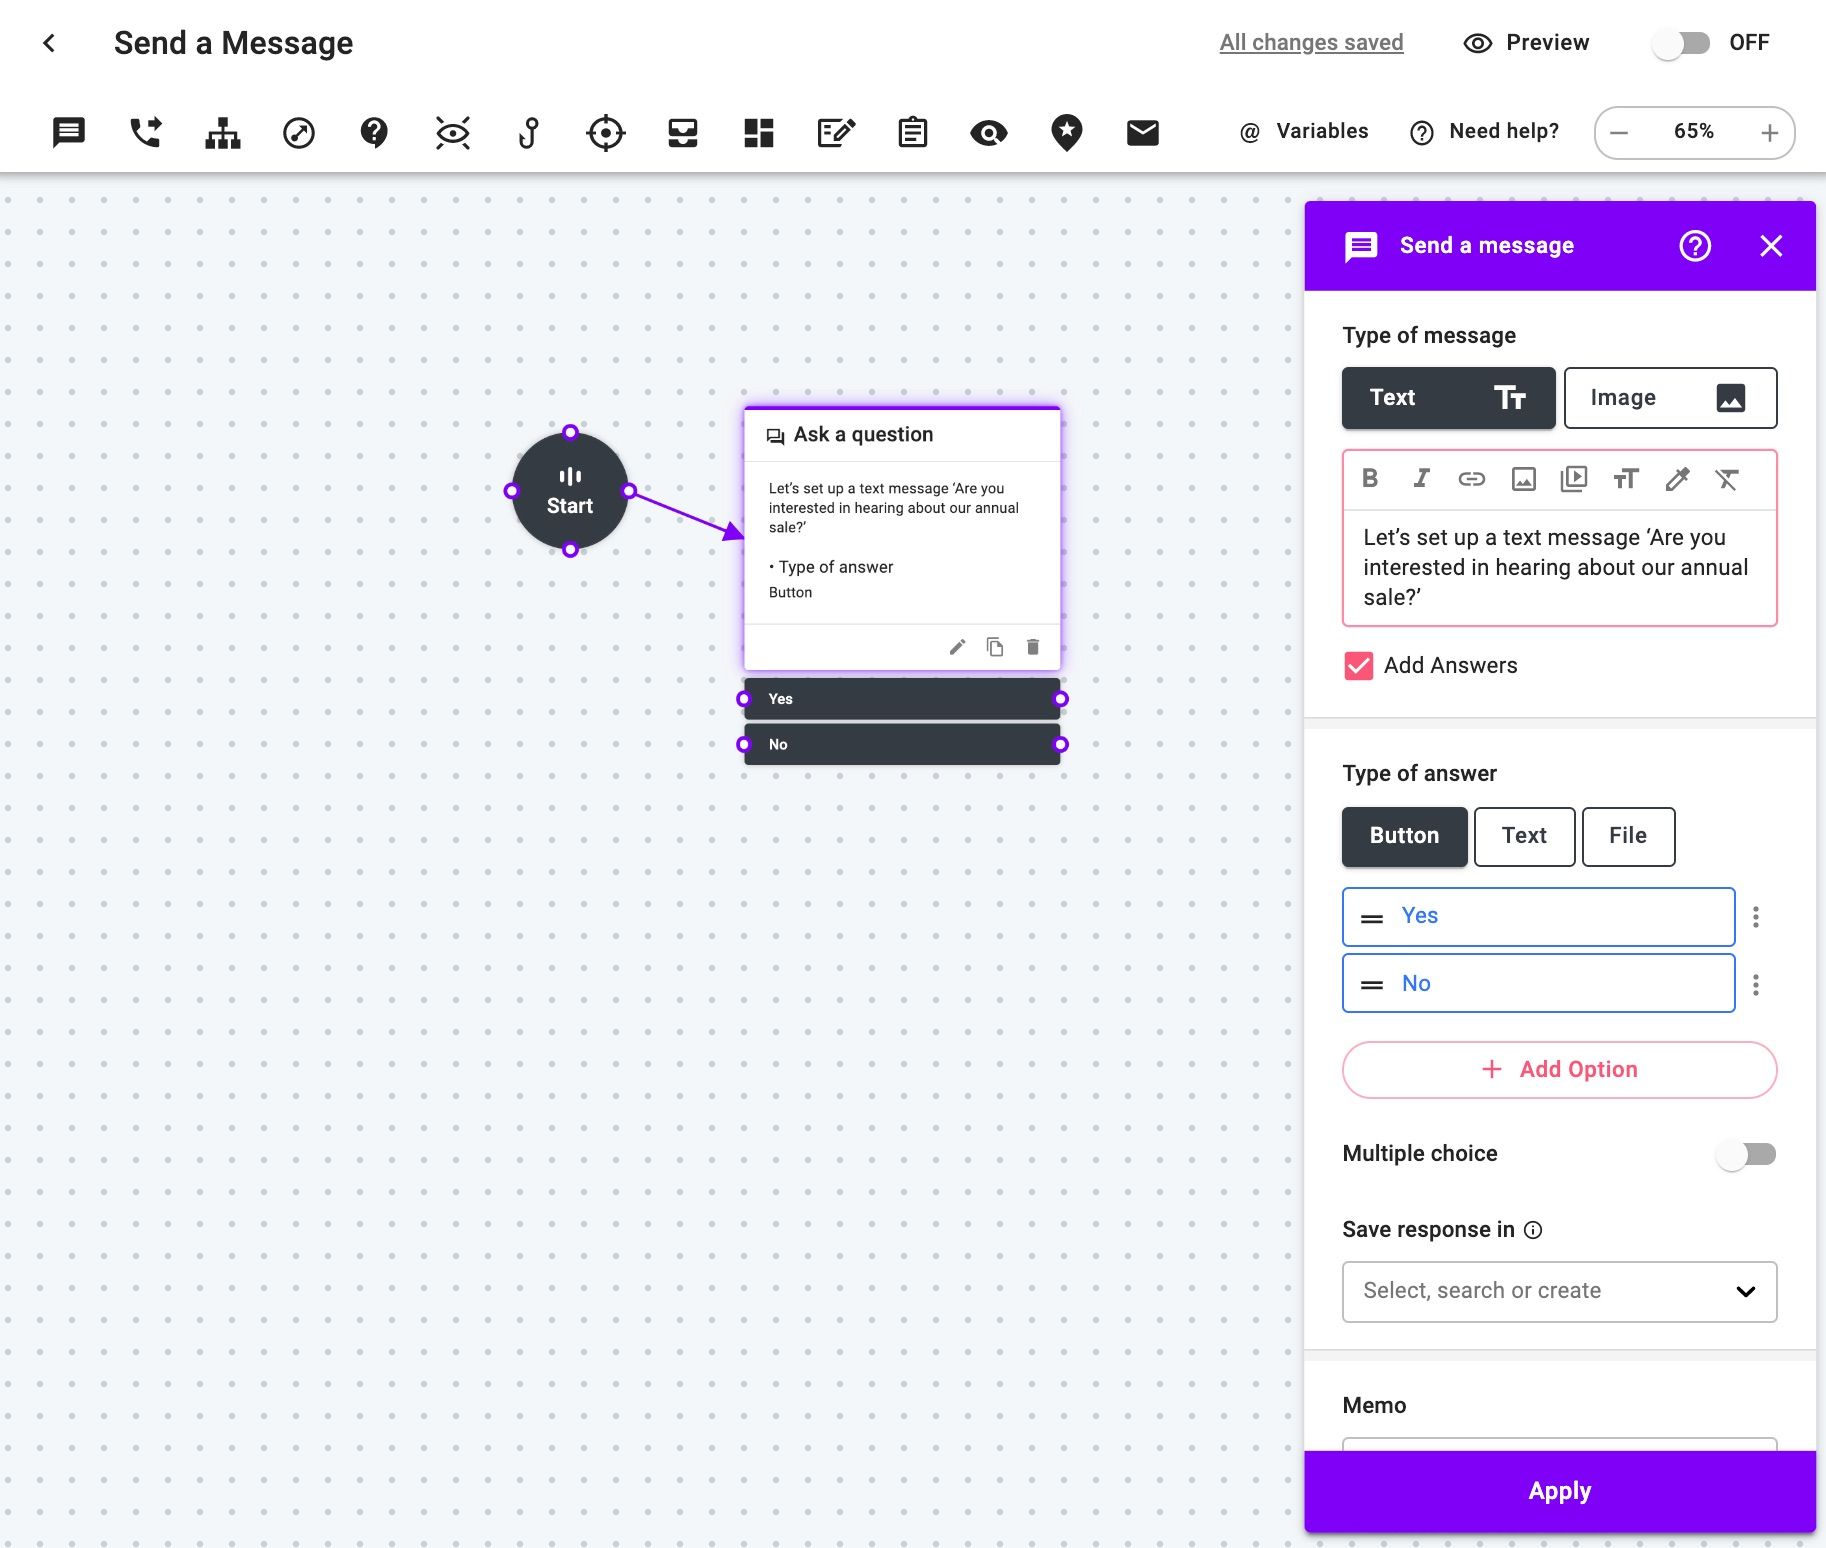
- You can choose to send users a text or image message. You can also start a back-and-forth conversation with users by checking the Add Answers box and select button or text answers.
- Let’s set up a text message ‘Are you interested in hearing about our annual sale?’ and solicit a Yes/No answer from the users. Each answer can also connect to other message blocks to create a flow.
- There are many other features in the menu bar available for your chatflow. Check out Node Guide in this user guide list to learn more.
Link: Alli User Guide List

- When you're done editing, click Preview to test your chatflow. All changes are saved automatically. Click the back icon and go back to the Campaign dashboard.

SDK Integration
- You will need to integrate the SDK for the chat interface to appear on your website or app. Please follow the integration guide for the platform you wish to use Alli:
- Once the SDK is integrated, go back to the dashboard and turn on the campaign. You should see Alli chatbot when you navigate to the targeted placement.

Server-to-Server Integration for Targeting
If you want to target customers such as those who have complained more than 2 times, you can send these information to Alli server using server to server integration.
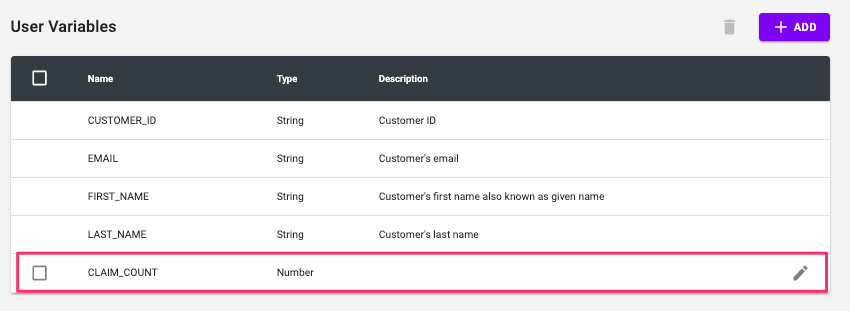
- First, you need to create the custom user variable in https://app.alli.ai/settings/variables. In this example, claim_count.
- Second, when the event happens in your server, please send the event through our S2S API. Please replace API-KEY with your own API-KEY and USER-ID with your own user-id.
curl https://backend.alli.ai/s2s/user \
 -H "API-KEY: {API-KEY}" \
 -d '{"user_id": "USER-ID", "claim_count": CLAIM-COUNT}'
- To get the API KEY: https://app.alli.ai/settings
- You can find the updated user data in https://app.alli.ai/customers.
- These user variables such as @CLAIM_COUNT can be used in User Targeting and in the chatflows to personalize the conversation experience.

Next thing to try is setting up Q&A answer bot. To learn more about it, check out 'Setting up Q&A' user guide. To find more user guides, please check out our user guide list post.